
Python Meeting Replay
Python Meeting PDF
Set-up the python project
There are two options for setting up the python project:
- Option 1: Download files manually. Manually set-up the folders (see screenshots below) and put the files in each relevant folder, as per the below instructions
- Option 2: Synchronize the project from GitHub. If you would like to do this you can skip to the section for Option 2 below.
Option 1: Download files manually
If you choose the first option, follow the following steps:
1.1: Create folders
Create a project folder on your PC. This project folder will be the root folder. Within the root folder, create the folders 01_SOURCES, 02_PROGRAMMES and 03_RESULTS. Use these exact same names. Make sure that these folders are all in the same project root folder. Do not mix folders from different python sessions together.
Folders to create in your project root:
Within the 02_PROGRAMMES folder, you should create a sub-folder named Z_SHARED_FUNCTIONS:
Folder to create inside 02_PROGRAMMES:
1.2: Files to put inside the 01_SOURCES folder
During the live session we will use the following source files. These files should go in the folder 01_SOURCES.
1.3: Files to put inside the 02_PROGRAMMES folder -> python files: change extension to .py
During the python session, we will run the following program. You will need to change the extension of the python program to .py.
1.4 File to put inside the 02_PROGRAMMES folder -> requirements.txt
The requirements.txt file holds the list of python libraries and their versions for all of the python libraries that are used by the project.
1.5: File to put inside the 02_PROGRAMMES folder -> pyproject.toml
The pyproject.toml is not actually used technically. However, it is good practice to use this file to remember the python version that goes with the library versions that we put in requirements.txt
1.6: File to put inside the 02_PROGRAMMES folder -> .env
An .env file is normally a secret file that you do not share with anyone. The .env file is where you will put your secret keys for logging into other systems, such as openAI or Copilot. You can create a .env file inside Visual Studio Code. The .env file does not have a name, only the extension .env. For this project, the .env should be set to contain …
1.7: File(s) to put inside the Z_SHARED_FUNCTIONS folder
The following are python programmes. You should create a Z_SHARED_FUNCTIONS folder in your 02_PROGRAMMES folder and store these files in Z_SHARED_FUNCTIONS. You should change the extension to .py:
1.8: File(s) to put inside the 03_RESULTS folder
When you run the python program, it will generate a results file and export it as an Excel file. You can see the example of what you would expect to obtain here. You can put this file in your 03_RESULTS folder:
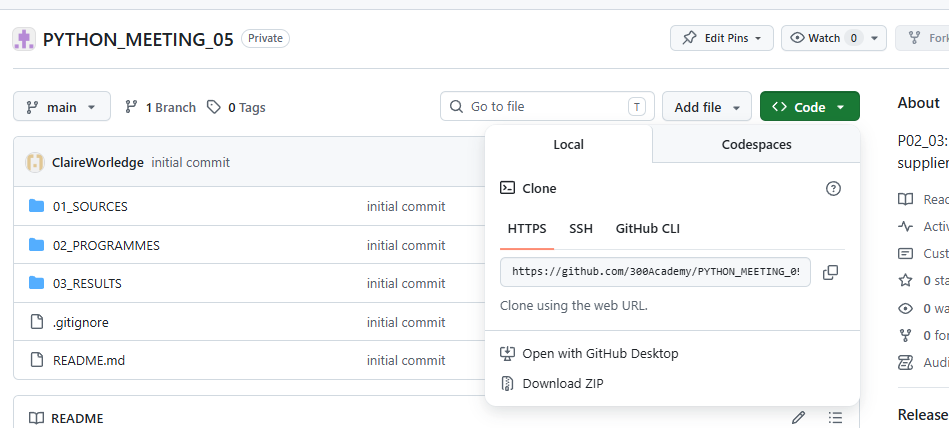
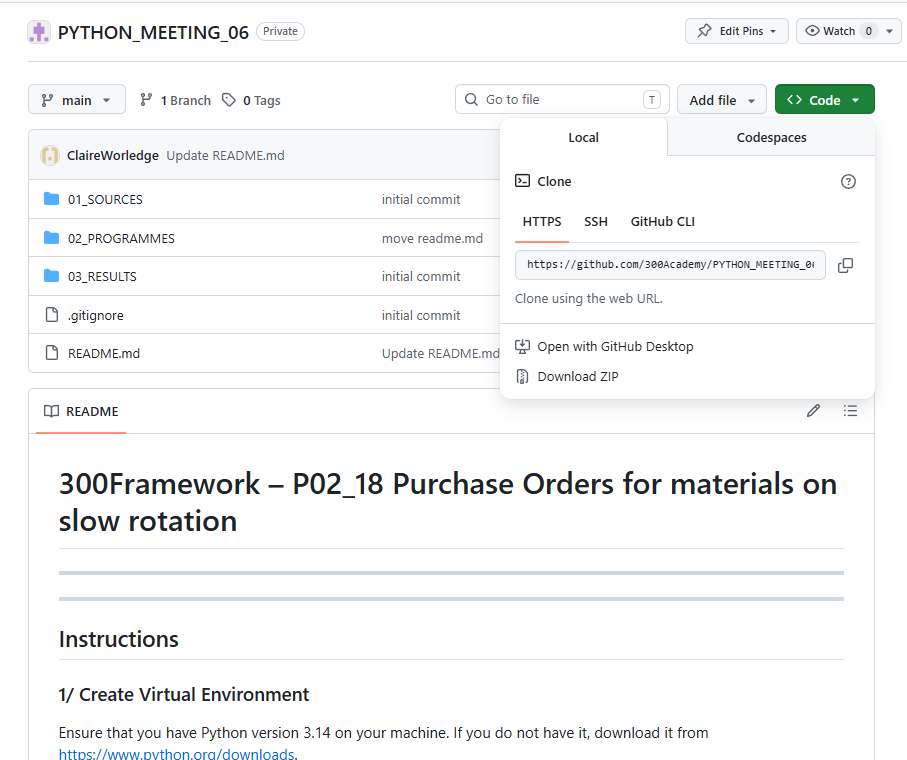
Option 2: Clone the project from GitHub
If you would like to get the project from github, clone from the following link – based on the instructions in the Python Cheat Sheet below: https://github.com/300Academy/PYTHON_MEETING_03.git
Python cheat sheet – including GitHub instructions
To understand how to obtain the project from GitHub, go to page 21 of the document below. Please note that .env files are designed to hold secret information. For this reason, the .env file is not included in GitHub. You should create your own .env file or use the one attached above in this lesson. You should put the .env file in the /02_PROGRAMMES folder. You should update the content variable(s) – not the name of the variables- in the .env file to match your own environment. Note: for folder paths, do not include the last .
Responses